
 Apparel &
Fashion
Apparel &
Fashion Automotive
 CBD & Hemp
 Electronics & E-Com
 Confectionery
 Cosmetics
 Events &
Holidays
Events &
Holidays Food &
Beverages
Food &
Beverages Health &
Pharma
Health &
Pharma Household
 Office &
Workplace
Office &
Workplace Retail &
Outdoor
Retail &
Outdoor Pets
Pets Promotional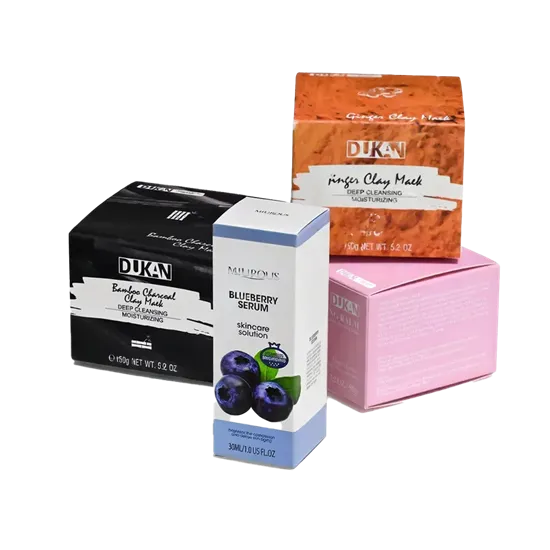
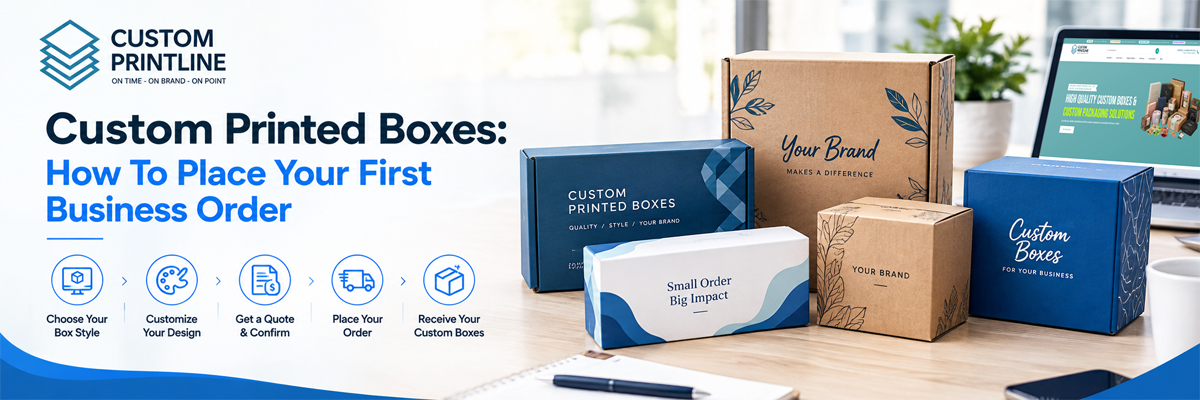
Custom Printed Boxes: How to Place Your First Business Order
At CustomPrintline, we believe that ordering custom printed boxes for your business should be an exciting milestone rather than becoming a stressful task. We are here to help you figure it out in the simplest possible way that customized packaging protects your products and builds brand trust instantly whether you run a growing e-commerce brand, a local retail store or a high end premium store. See our complete guide below that walks you through every step of placing your first business order for custom packaging boxes. You will learn how to choose the right box style and structural shape for your merchandise. We will also help you measure exact packaging dimensions, select the best card stock, and set up high-resolution print files using a dieline template for artwork and design placement. Our step-by-step walkthrough ensures a smooth process from requesting plain white or printed prototype samples to approving the artwork to start bulk production. Start your custom box order today with confidence!
Do not worry if you have never placed a custom packaging order before. The technical terms in this industry can feel slightly overwhelming but we are here to help you with understanding them. Our easy ordering process makes sure that your custom box order is exactly what you wished for. You might wonder how to select the right box structure, measure your items accurately or prepare print files correctly. We are here to help you every step of the way and guide you towards a final packaging box that is fully customized to your liking. Fortunately, creating bespoke packaging is straightforward when you follow a structured, step-by-step process. This complete guide breaks down every stage of placing your first business order for custom boxes.
Step 1: Choose the Best Box Style for Your Product
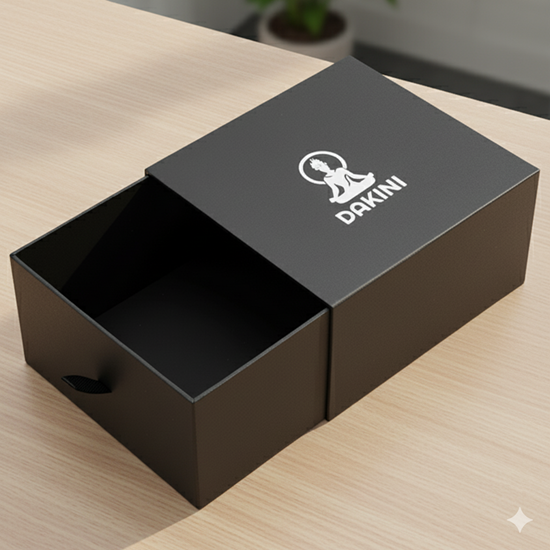
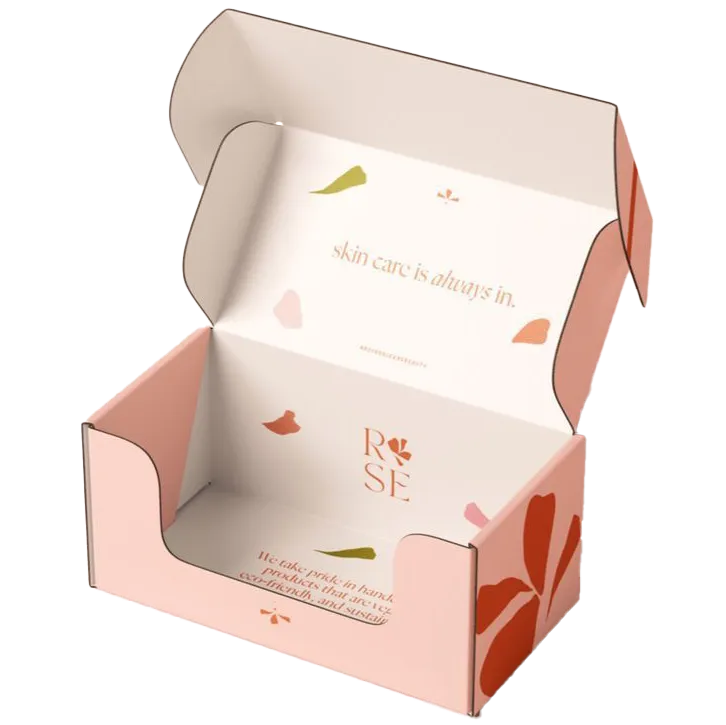
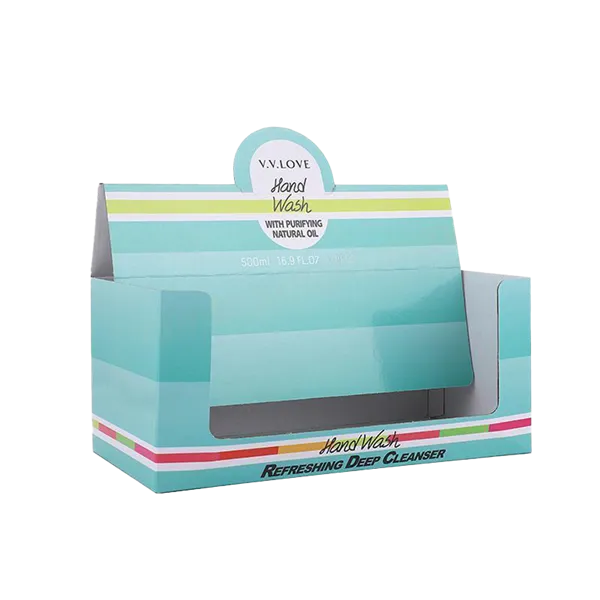
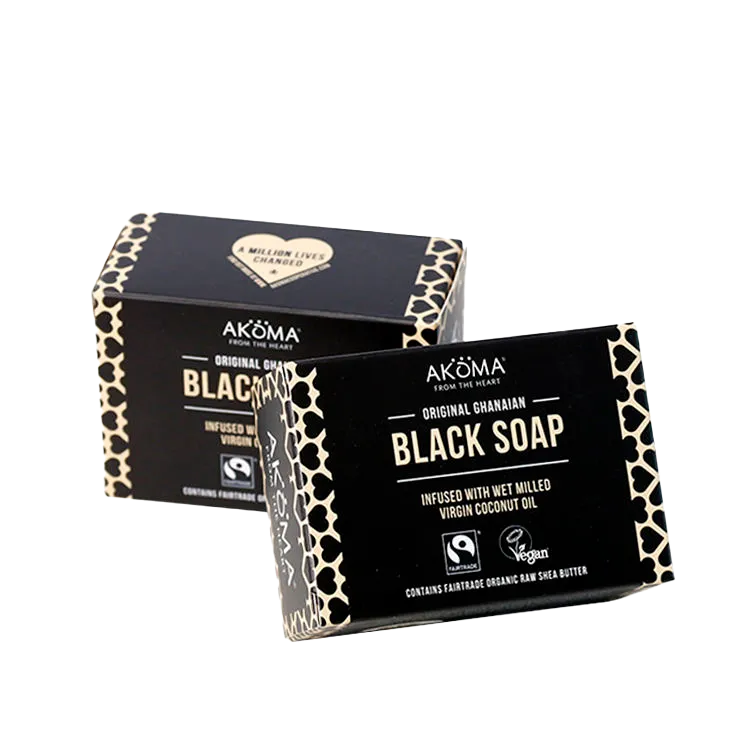
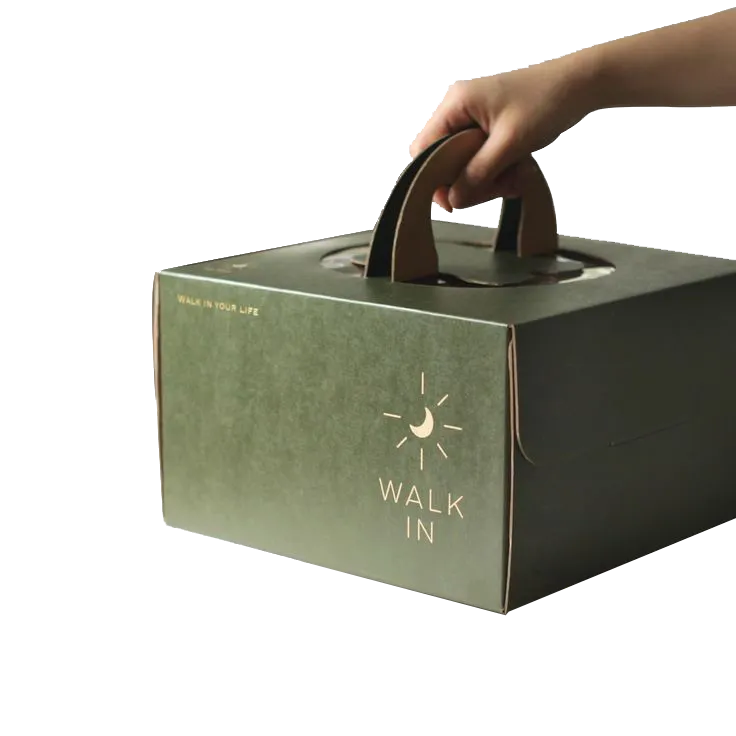
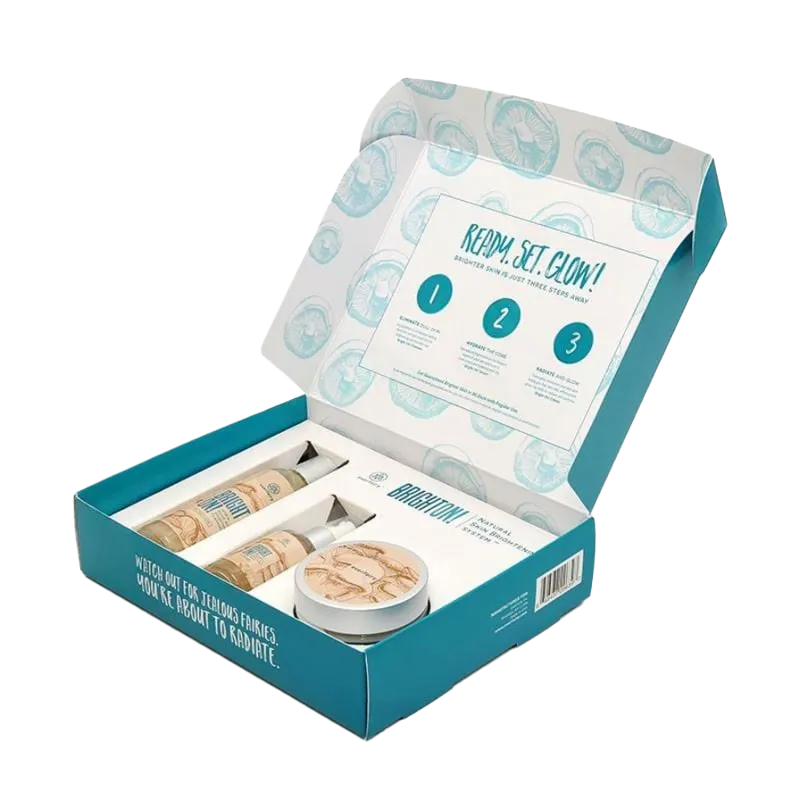
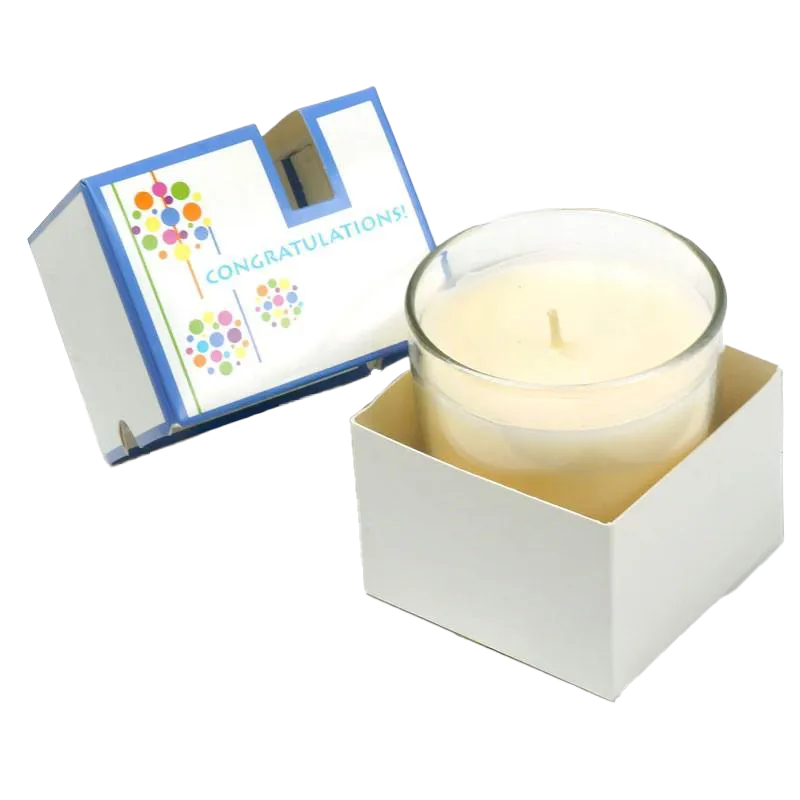
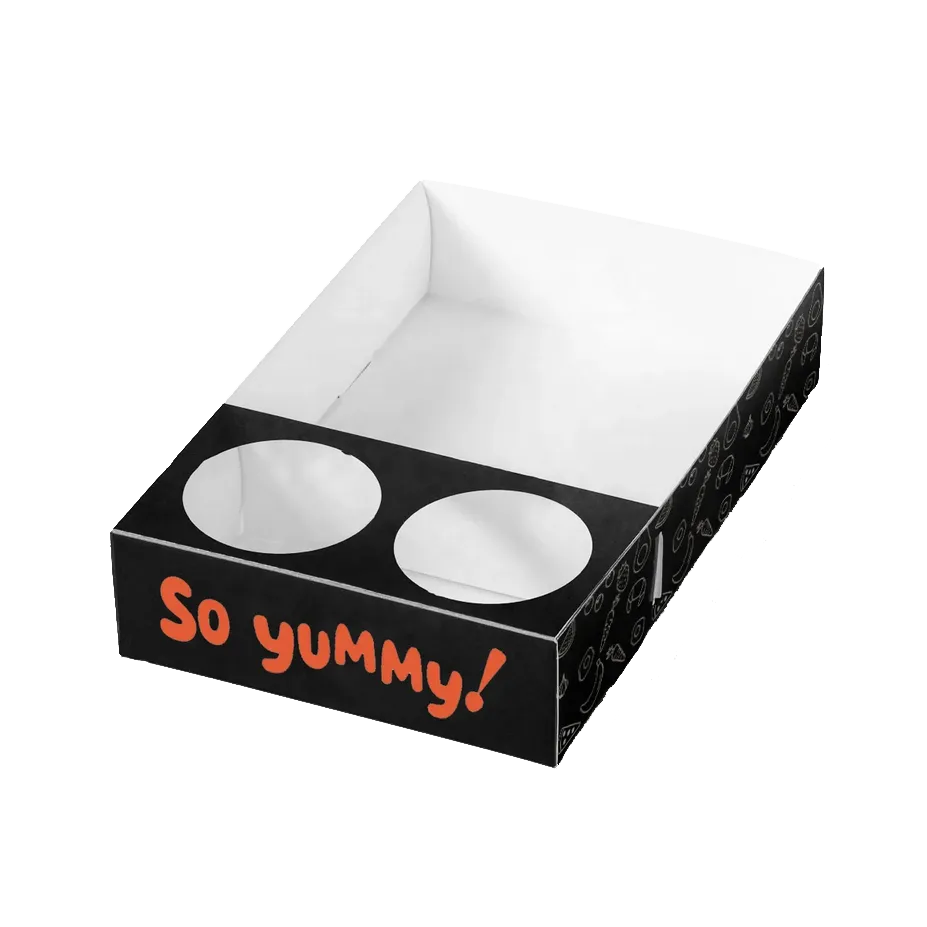
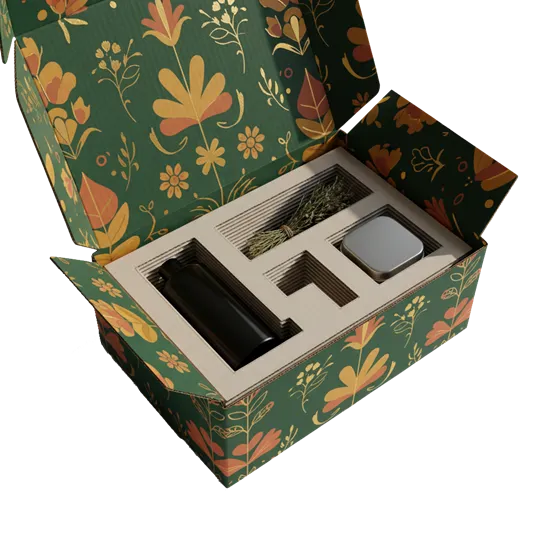
The first decision in your custom packaging journey involves choosing an appropriate box style. Different product categories require specific opening mechanisms and presentation styles to maximize customer engagement. For instance, retail products like cosmetics or candles often use lightweight open top tuck boxes for individual display on store shelves. Similarly E-commerce brands that are shipping products through the mail usually prefer sturdy mailer boxes that open like a presentation chest. Display boxes offer quick access and immediate visual appeal if you need to showcase items directly on retail counter spaces. So understanding how your product reaches the end consumer helps you select a box style that balances presentation and functionality.
Our handy dandy style page for filtering packaging boxes based on their styles can be a great starting point in your custom box order journey.
Step 2: Select the Correct Box Structure
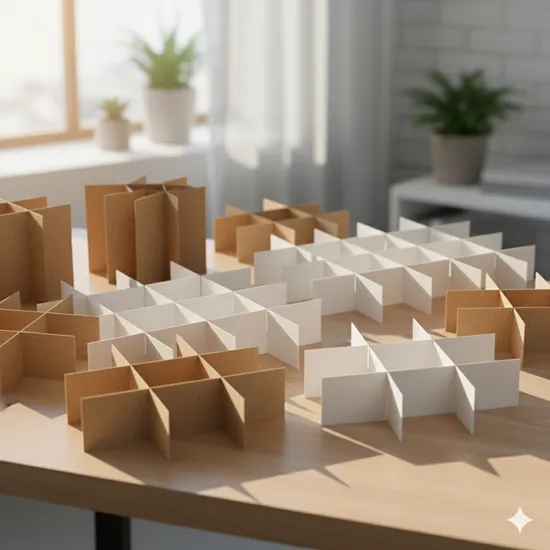
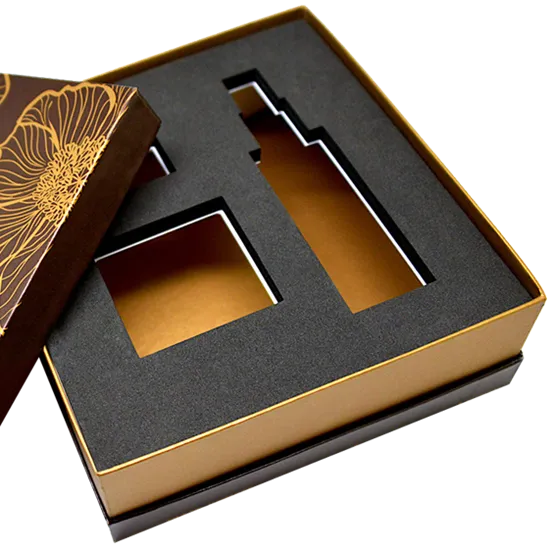
After picking a general style, you must decide on the exact structural configuration of your box. The internal construction dictates how easy the box is to assemble during fulfillment. Auto-bottom box structures feature pre-glued bottoms that pop into shape instantly, saving valuable assembly time during high-volume shipping. Standard straight-tuck or reverse-tuck structures offer clean lines and classic functionality for lighter merchandise. If your products require added internal protection, consider adding custom card inserts or dividers within the structure. Choosing a strong structural layout ensures your items stay securely held in place throughout handling and transit.
Step 3: Measure Product Dimensions for an Exact Box Fit
A very important and critical step is the accurate measurements for your custom printed boxes. A box that is too small will cause bulging and your products wont fit inside comfortably and on the other hand an oversized box will be too loose for your products and they will move when the box is moved. To figure out the required box dimensions, place your products on a flat surface (like a table) exactly the same way you wish to place them inside the box and then measure all sides. Length would be left to right, width would be front to back and height/depth would be top to bottom. Always add a small clearance margin of roughly one-eighth of an inch to allow comfortable loading and unloading. If you plan to bundle multiple items or wrap products in tissue paper, include those additional materials in your initial measurements. Providing exact dimensions guarantees your custom boxes fit your products perfectly.
Step 4: Choose the Right Stock Material
Selecting appropriate paper stock ensures your custom packaging looks attractive while offering necessary physical protection. Different stock materials provide distinct performance characteristics depending on your shipping methods and product weight.
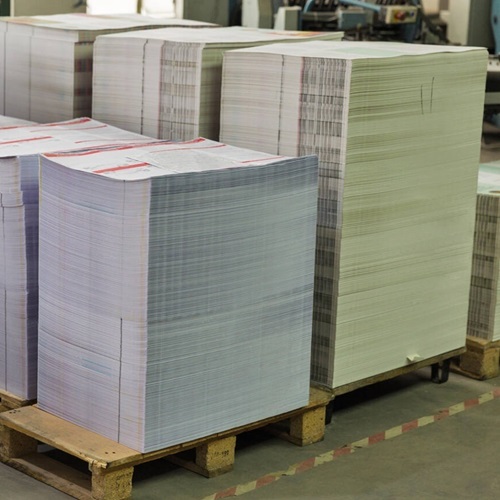
Cardboard Sheets: Cardboard is a flimsy and flexible material. It is made with thin die-cut sheets ranging from 12pt up to 24pt thickness. These sheets come with smooth matte or high gloss finishing which makes them ideal for printing artwork and graphics while also being lightweight.
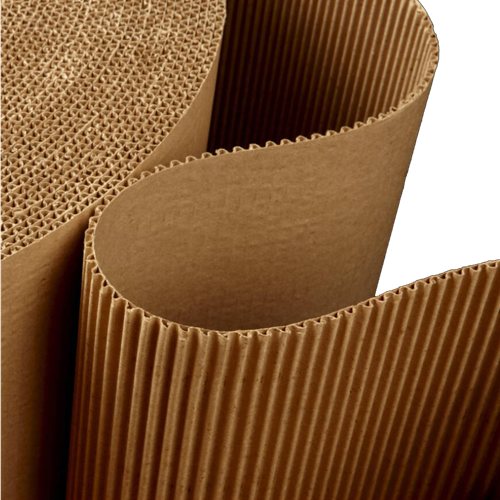
Corrugated Boards: Corrugated boxes are made by pasting cardboard or kraft sheets with corrugated flute. These flutes also come in different structures such as standard E-flute or more sturdier B-Flute. These durable corrugated boards provide essential structural strength for shipping heavier items or to protect sensitive items from getting damaged during shipping.
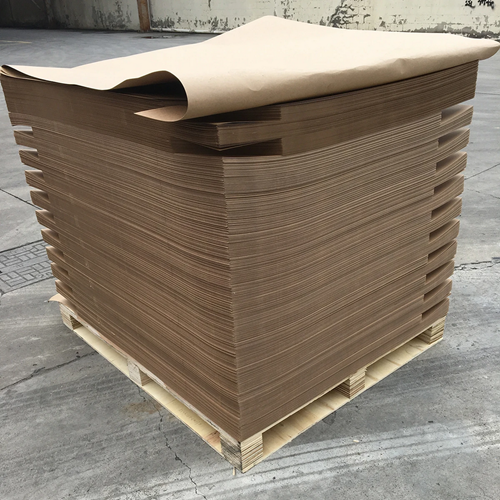
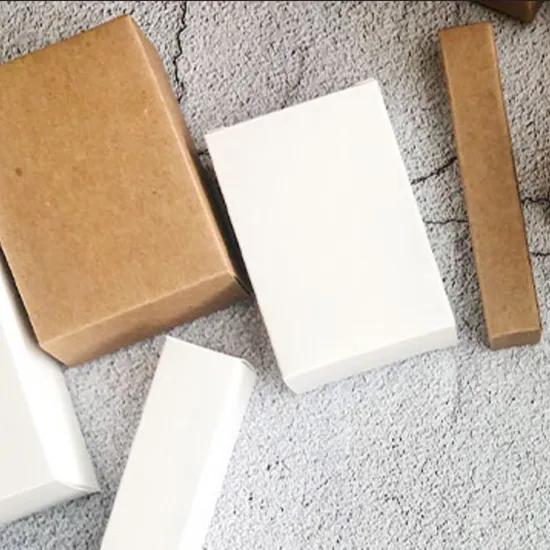
Kraft Sheets: Kraft boxes are natural brown, rough to the touch, minimally printed or sometimes completely unprinted and without any surface coatings. They offer a rustic appearance for eco-conscious product presentations.
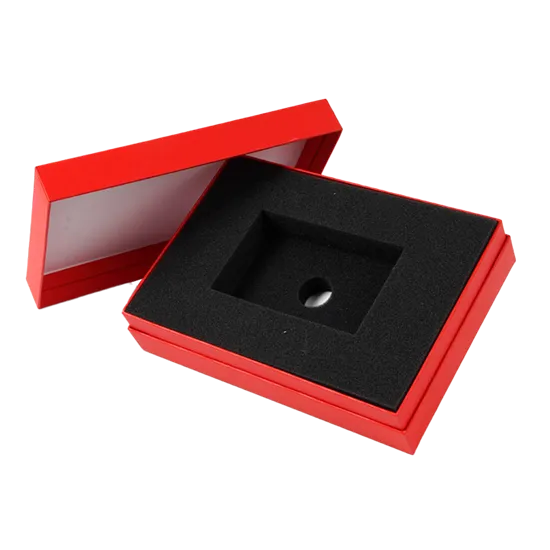
Rigid Board: Rigid boxes are built from dense fiberboard to deliver luxury packaging for high-end items like electronics or jewelry. This is the same material as an iPhone box. It is partially hand-made so it is generally more expensive due to the craftsmanship involved.
Matching your product weight with the correct paper material compliments your product, prevents damaged deliveries and enhances customer satisfaction.
Step 5: Get a Free Price Quote for your Custom Packaging Boxes
Once your box style, dimensions and stock material are finalized, you can request a free price quote from our sales team. We will generally reply within one-business day and if you like the price and wish to place an order with us then proceed to the next step.
Step 6. Request a Dieline Template for Artwork Design
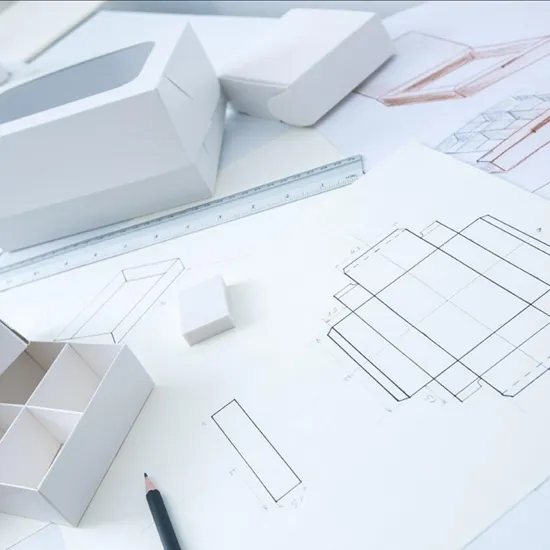
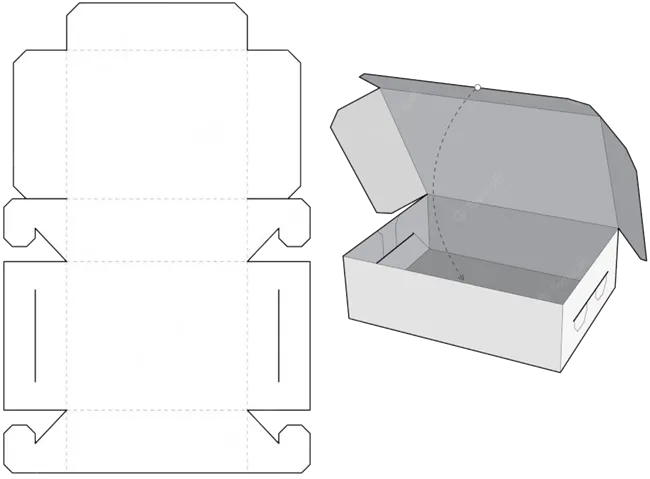
Our pre-press team generates a customized dieline template based on the box dimensions and style you share with us. A dieline is a two-dimensional vector outline that shows all cut lines, fold lines and bleed margins of your unfolded box. Designing directly over an official template ensures your artwork aligns seamlessly across all panels and aligns accurately once the box is produced and assembled. Using a dieline template prevents design errors, such as upside-down text on side flaps or cropped logos near cut edges. Always layout your artwork on an accurate dieline before submitting final graphics for production review.
Step 7: Prepare High-Resolution Vector Artwork
We do offset printing which is basically the highest quality printing for cardboard boxes. In order to achieve this high quality, the artwork has to be of high quality too. High-quality print production requires a proper file preparation to achieve crisp and fully readable text and vivid colors without any blurriness or pixelation effects. You can design your artwork in Adobe Illustrator which is a vector format software and best suited for working with box dieline and print ready graphics. Make sure all embedded images have a higher resolution of at least 300 DPI for a sharp and crisp print finish. Additionally, set up your color modes using CMYK color channels rather than RGB screen colors to match production ink output. Proper artwork preparation accelerates file approval and guarantees crisp print quality on your finished custom boxes. Our pre-press team helps you with making sure that your artwork file is print ready and does not have any errors that will cause trouble later on during box production.
Step 8: Get Digital Box Mock-ups
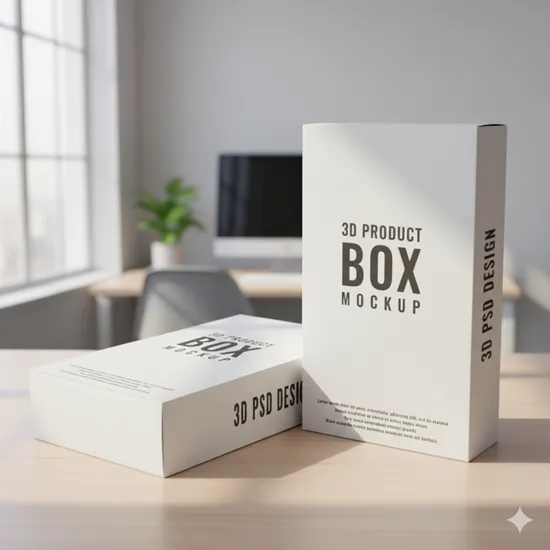
Once your artwork file is finalized, we will share digital mock-ups of the box with your design so that you can see how your box would look like after production.
Step 9: Test Physical Samples Before Mass Production
We also have a couple of sampling options available for you to get physical custom box samples/prototypes for testing.
Plain White Sample: Start by requesting an unprinted structural sample to test product fit and verify material rigidity.
Printed Artwork Sample: Once the physical fit is confirmed, request a fully printed prototype sample to inspect color rendering and brand placement.
With physical sample testing you get a complete peace of mind. You can physically inspect the boxes and make sure they work for your use case. The sampling phase allows you to verify physical dimensions, material strength, and graphic alignment in real-world conditions. At this stage, we can make any necessary changes to the box such as fix the dimensions slightly or change the stock material thickness. If everything seems good to you and you approve the samples, then we will start bulk production. Physically testing prototype boxes eliminates costly surprises and ensures your final packaging performs flawlessly.
Step 10: Approve Production and Initiate Bulk Manufacturing
After approving your physical prototype sample, your project enters bulk manufacturing. The production facility cuts, prints, scores, glues, and packages your order according to agreed quality box specifications. Most custom packaging manufacturing runs complete in approximately 8 to 10 business days before shipping directly to your given address. Placing your first business order becomes a smooth, rewarding process when backed by clear planning and expert guidance. So start designing your custom printed boxes today to elevate your brand presence and delight your customers!
Frequently Asked Questions
1.) What is the minimum order quantity?
We don’t really have any minimums but we generally recommend ordering at least 100 pieces so that you can get a better price per box and more value for your order.
2.) Do you offer design assistance?
We can help you with placing your artwork on the box dieline but we cannot make the designs from scratch.
3.) Can I get a prototype sample for testing?
Yes, once an order is placed, we always dispatch custom samples so that you can physically inspect the boxes and make sure they work for your use case.
4.) How long does production and delivery take?
Our production team needs approximately 8 to 10 business days followed by a few days of ground shipping. In most cases, we are able to deliver in less than 2 business weeks.
5.) Can I customize the design and printing?
Yes, we offer a range of customization options to choose from such as box size, shape, colors, and finishing. We can also print on both interior and exterior surfaces.
6.) How do I choose between cardboard and corrugated material for my custom boxes?
Cardboard material works best for lightweight retail packaging displayed on store shelves. Corrugated material features fluted inner layers that provide structural strength for heavy shipping.
7.) What artwork file format is best for printing custom boxes?
Vector files in PDF or AI formats offer the cleanest print results for custom packaging designs. Vector graphics maintain high sharpness without pixelating during large printing runs.
8.) Why is a dieline template necessary before designing artwork?
A dieline template shows exact cut lines and fold points for your specific box size. Designing over a dieline prevents artwork from placing incorrectly over folds or edges.
9.) Can I print custom artwork on both the inside and outside of the box?
Yes, full-color printing is available for both interior and exterior surfaces. Printing inside your custom boxes creates an exciting unboxing experience for e-commerce customers.
10.) How do I make sure my product fits tightly inside my custom printed boxes?
Measure your product at its widest dimensions and add a tiny clearance buffer for easy loading. You can also add custom inserts to secure smaller items inside larger boxes.